Duration
45 minutes
Difficulty level
Easy
Prepares in
11 steps
WHAT YOU NEED
- Empty Pirouline Tin
- Light Pink, Dark Pink and Black Felt (I used some by Kunin Group)
- Black Embroidery Thread
- Embroidery Needle
- Scissors
- Hot Glue Gun
- Marker
- Craft Knife
- Piggy Bank Face Pattern

STEPS
Step 1
Start by measuring your empty tin and cutting a piece of light pink felt that can wrap around it.
Step 2
Use your hot glue gun to adhere the felt to the tin. I like to start at one end and do this a little at a time so that the glue doesn’t dry before you’re ready.
Step 3
Next let’s move to the lid. Use a marker to sketch a small rectangle (big enough for quarters to slide through) into the center(ish) of your lid.
Step 4
Using a craft knife, carefully cut out the slot, following your marker lines
Step 5
Place your lid onto a piece of light pink felt and use a marker to trace around the outside edge and also trace the slot in the middle.
Step 6
Cut out the felt circle and the slot and use hot glue to adhere it to the top of the lid.
Step 7
Cut a 1/2″ strip of light pink felt and adhere it around the edge of your lid to cover the sides, as pictured below.
Step 8
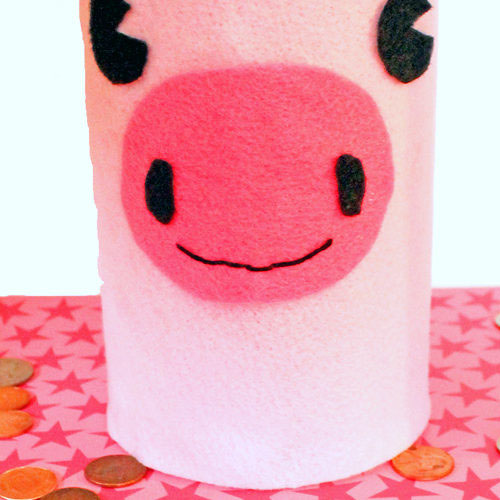
Next you need to cut out the face for the piggy bank. Download the pattern and cut it out. Pin the pattern pieces to felt and use them as a guide to cut out the face.
Step 9
Use embroidery thread and a needle to stitch a mouth onto the pink oval. Wild Olive has a fabulous tutorial on how to do the “running stitch”.
Step 10
Glue on the nostrils.
Step 11
Use hot glue to adhere the snout and eyes to the front of the recycled tin. Pinch the ears slightly and adhere them to the top of the tin.

